5) Mounting a Motor
I opted for a 12V 755 DC motor. These are very common and are typically used for RC cars and cordless drills (in some corners of the internet, there is a blooming market for “broken” cordless drills - usually the problem lies within the battery) . These motors are compact and light : exactly what’s needed. The original motor is mounted to the machine with a single screw going through an elongated hole to allow for the belt to be tensioned. After an hour or so in Solvespace (the world’s most underrated CAD software) I had a piece of plastic 3D printed that will attach my motor to the machine using an M4 bolt.
Now the problem of making the motor turn the machine. Alas it is not so simple as swapping over the original motor pulley as my new motor spins significantly faster than the old one, meaning that without some kind of reduction gear, the machine runs like crazy.
Having cut myself many times before on Occam’s razor I settled on a friction gear system. This is where a larger rubber o-ring is in direct contact with the motor shaft. Parallel to the o-ring is a pulley, with a smaller diameter than the o-ring, which turns the original belt that goes to the handwheel. To tension the belt, I attached the pulley/o-ring contraption to a disc with circular slits cut into it so that it can rotate about the motor’s axis to tension the belt (here, a picture paints thousand words). Two small press-fit ball bearings ensure that the pulley spins smoothly. A problem might be that the o-ring gets worn down and may need to be frequently replaced: let’s see.
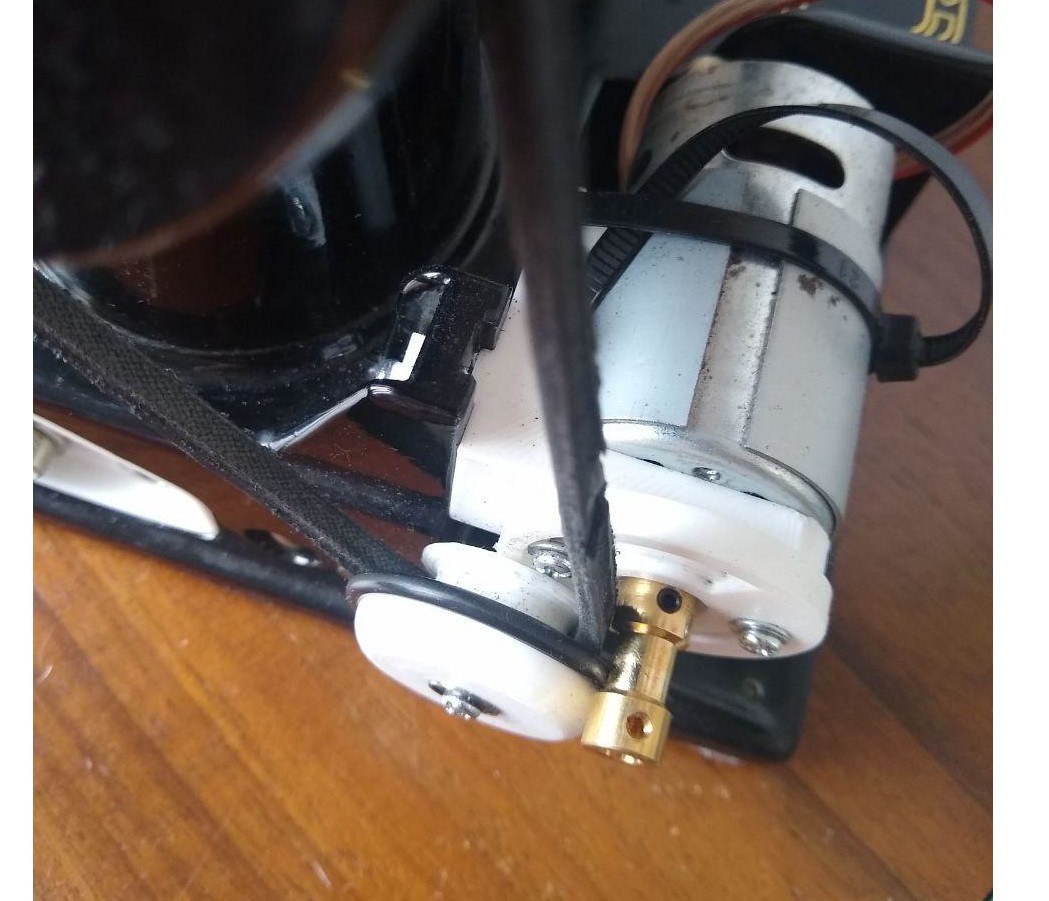
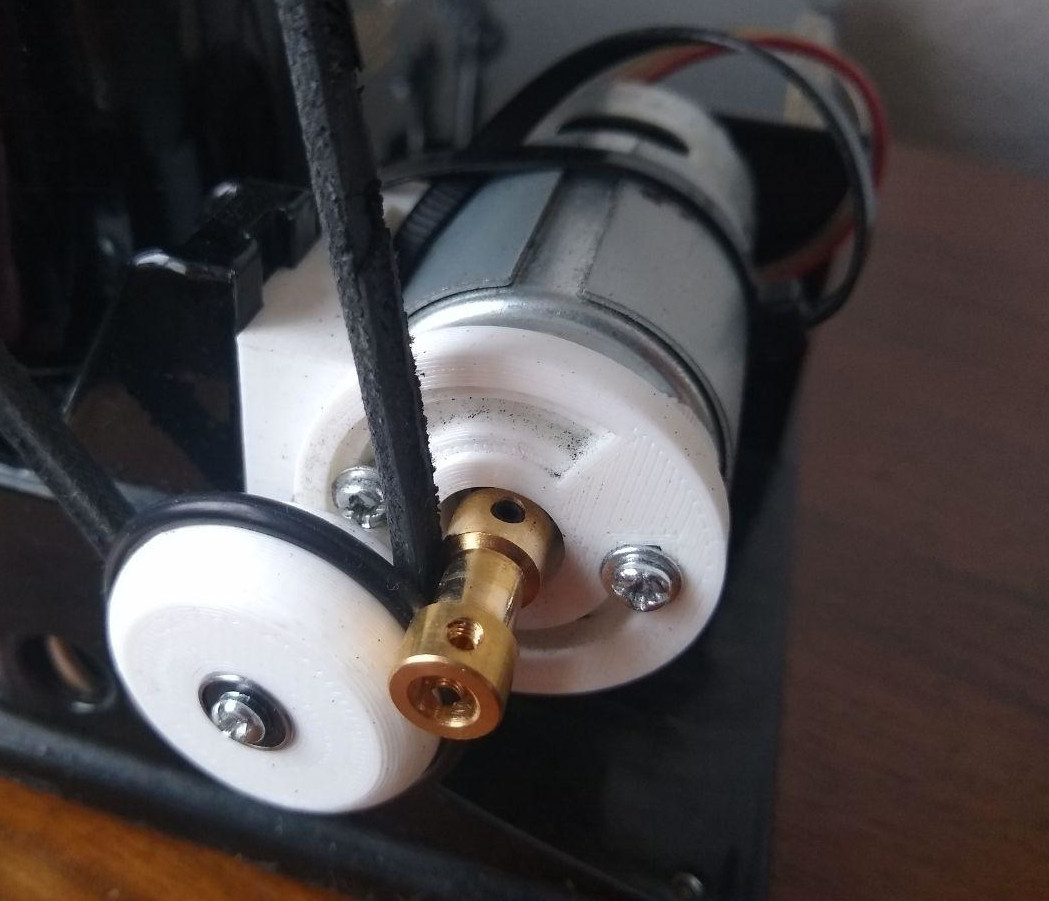
I did try using the planetary gears from a cordless drill to reduce the motor’s speed, however these gears were very noisy. Perhaps I am over-sensitive but the friction system is almost silent!
So far everything is working nicely, I can sew without being plugged into the mains!
All that remains is to wait for the sun to shine and get stitching.
UPDATE
After sewing with the machine for a bit, some problems arose :(
Firstly, I couldn’t turn the machine by hand very easily as the friction roller didn’t like being turned from the handwheel. Secondly the plate holding the pulley wheel to the motor bent.
So instead I just 3D printed a large pulley 9cm in diameter and a small pulley 6cm in diameter. This provides enough gear down to run the machine.
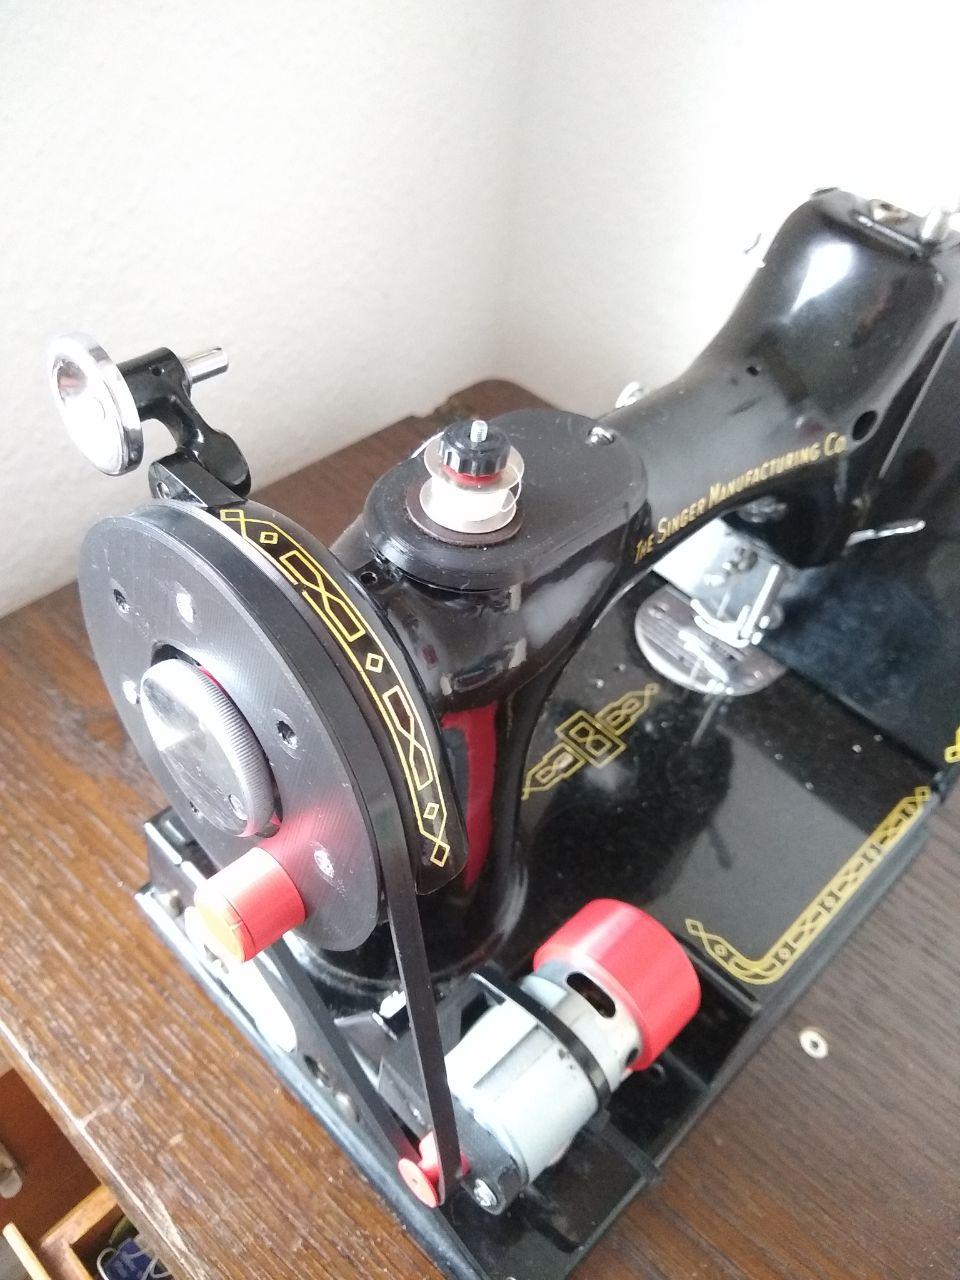
The handwheel is now too large to fit under the housing on the machine, but that’s ok.
Incase you want to 3D print this yourself, the .stl files are here